
Organizing Digital Photos in Folders - The Simple Structure You Need!
Did you know there are no official standards for organizing photo folders? If you’ve ever struggled with messy, unorganized digital pictures scattered across devices, you’re not alone. But don’t worry—I’ve developed a simple, effective folder system that will help you take control of your photo collection and create a lasting legacy.
At Pixologie, we’ve helped people organize millions of printed and digital photos over the past 12 years. Through this work, we’ve learned what works—and what doesn’t—when it comes to structuring photo folders in a way that makes sense for the long term.
Let’s walk through my best practices for organizing your digital photos so you can find them quickly and easily.
Step 1: Know Where Your Photos Are Stored
Before organizing your pictures, you need to understand where they are currently stored on your computer. Here’s how to find them:
- On a PC (Windows 11 & 10): Your photos are usually in the C Drive > Users > [Your Name] > Pictures folder. If you use OneDrive, they may also be stored in C Drive > Users > [Your Name] > OneDrive > Pictures.
- On a Mac: Your photos are generally in the Macintosh HD > Users > [Your Name] > Pictures folder. If you use iCloud, they may also be stored in iCloud Drive > Photos.
Cloud storage services like OneDrive, Google Drive, or iCloud sometimes change file locations, making it tricky to know where your photos are actually stored. Always double-check the file path to ensure your pictures are saved where you expect them to be.
Step 2: Create Two Essential Top-Level Folders
A well-organized photo system starts with two main folders:
- Photos to Organize – This is your working folder for sorting, renaming, and deduplicating images. Everything new or unsorted should go here.
- Photo Estate – This is your final, clean collection where all organized, de-duplicated, and labeled images are stored. This is the legacy you are building.
Optional folders you may want to have:
- Scanned Photos – If you’re digitizing old photos, it’s helpful to keep these separate from born-digital pictures.
- Project Folders – Temporary folders for specific projects like a graduation slideshow or a family history book.
Step 3: Organize Photos Chronologically
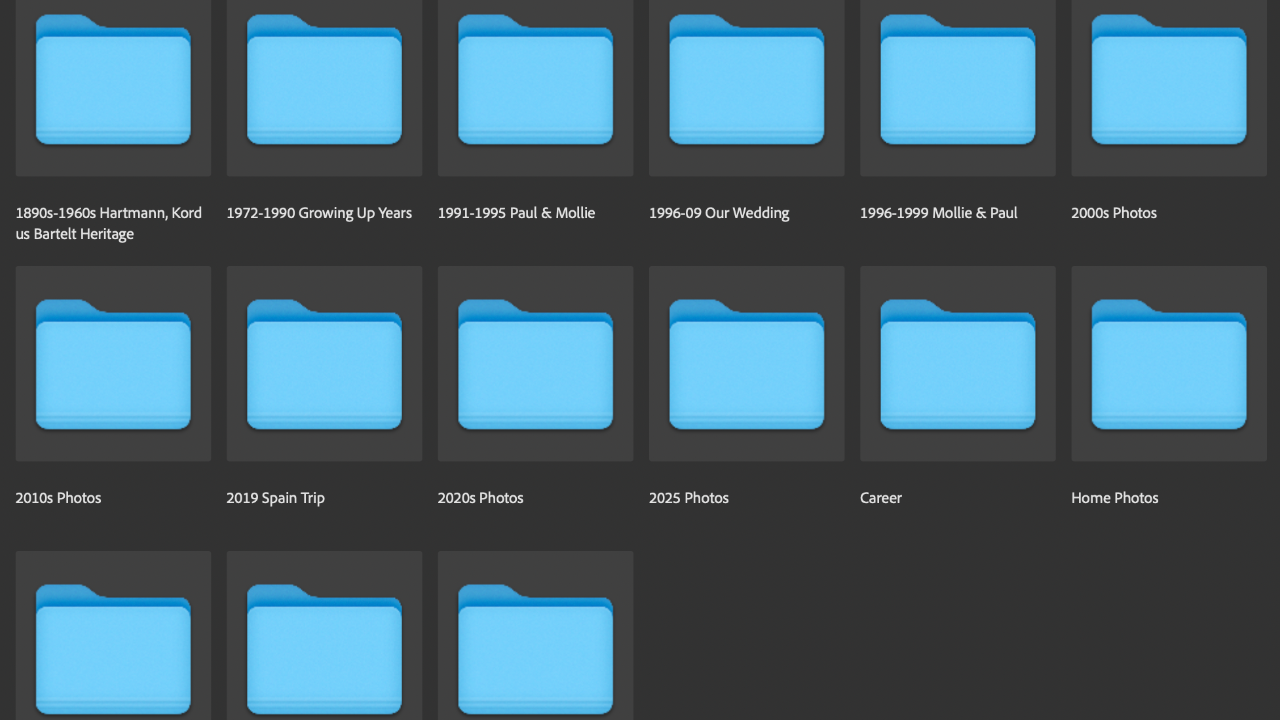
The easiest and most effective way to organize your photos is by date. When you store pictures chronologically, you don’t have to think too hard about where they belong. Here’s the folder structure I recommend:
- Decade Folders (e.g., “1990s Photos,” “2000s Photos”)
- Year Folders (e.g., “2020,” “2021”)
- Month/Event Folders (e.g., “2022-07 Family Vacation” or “2023-12 Christmas”)
A sample folder structure might look like this:
Photo Estate
- 2000s Photos
- 2005
- 2005-06 Summer Trip to Florida
- 2005-12 Christmas
- 2005
This structure allows for easy searching and ensures your photos are arranged in a way that makes sense for long-term preservation.
Step 4: Use a Consistent Folder Naming Formula
To keep your photos neatly sorted, I recommend using a consistent naming format for folders:
YYYY-MM-DD Description
For example:
- 2023-06-15 Beach Vacation
- 2019-12-25 Christmas Morning
This method ensures that your folders will always be sorted in order, making it easy to browse through your memories.
Step 5: Clean Up and Remove Duplicates
Once your folders are structured, it’s time to clean up your collection by renaming files, deleting unnecessary duplicates, and ensuring everything is where it should be.
Recommended deduplication tools:
- Mac: PhotoSweeper
- Windows: Duplicate Photos Fixer Pro
These programs help you compare duplicate images and safely remove unnecessary copies.
Step 6: Maintain Your System Moving Forward
The best way to keep your photos organized is to stick with your system and do regular maintenance. Here’s how to stay on top of things:
- Save new photos into your "Photos to Organize" folder first before sorting them.
- Process new photos on a schedule (e.g., once a month or after major events).
- Regularly back up your Photo Estate folder to an external hard drive or cloud storage.
Photo organizing isn’t a one-time project—it’s an ongoing process.
Need Help? I'd love to speak with you!
Click here to schedule a time with me for a research call where I learn more about your situation and can explain how we help people with their photo preservation work.
Watch our YouTube video explaining our standards by clicking here!
